What You Will Build
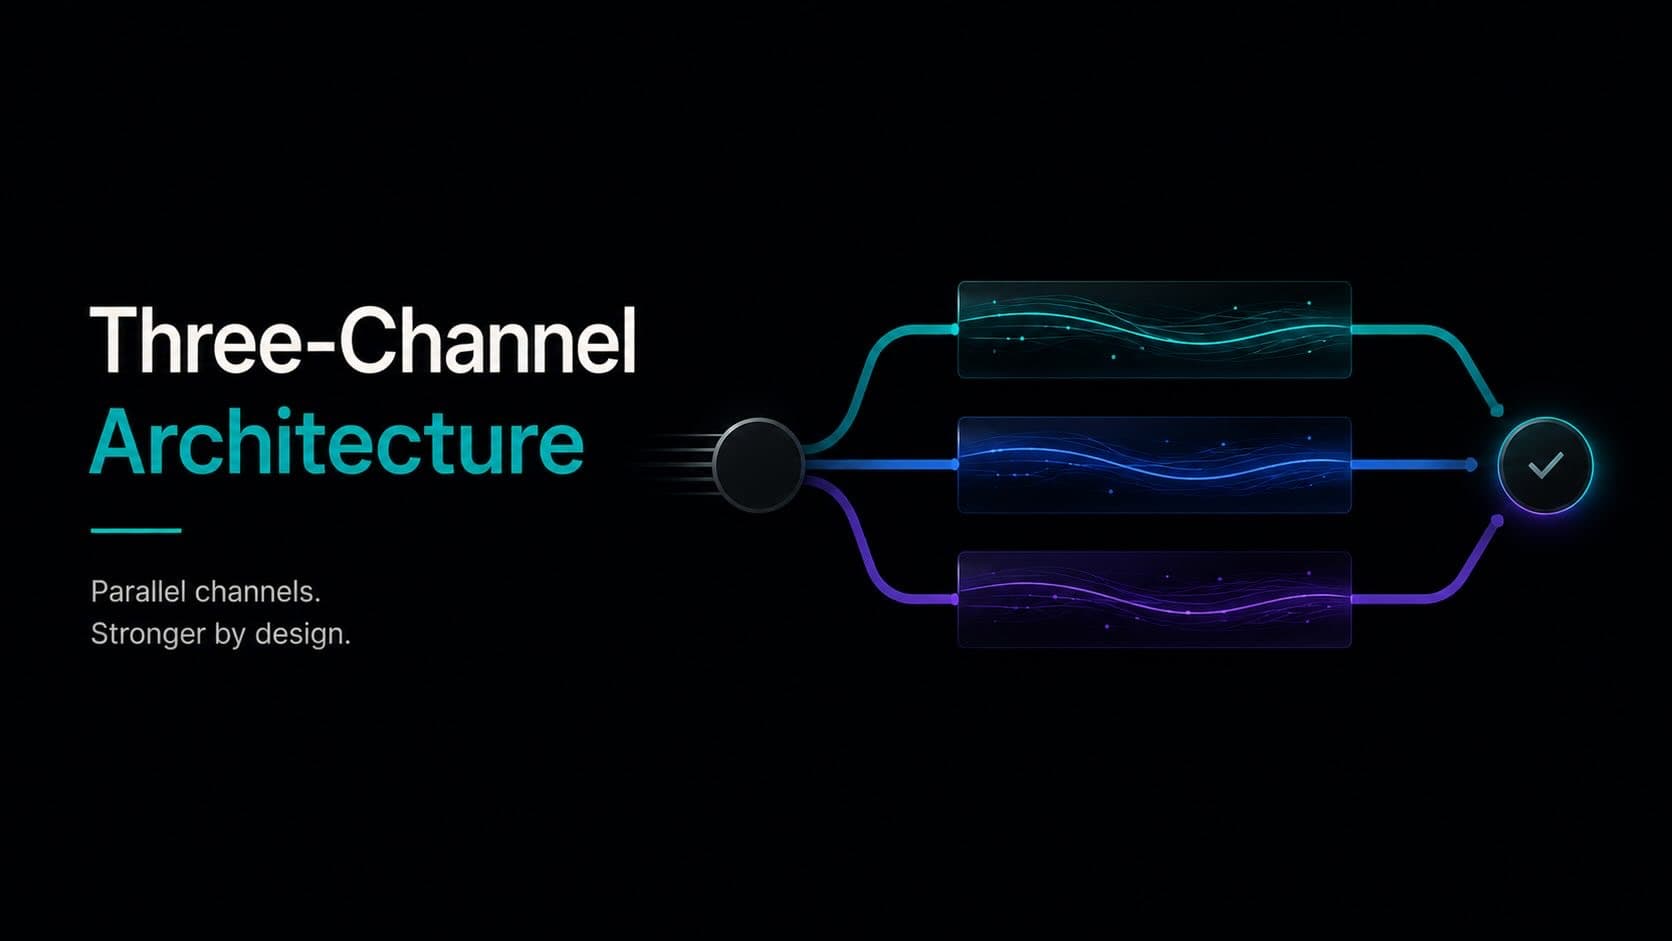
This tutorial walks you through deploying a smart contract on QuanChain's Channel 2, integrating a TADEQS wallet for user authentication, and triggering a Channel 1 payment from within contract logic. By the end, you will have a working dApp that demonstrates QuanChain's three-channel architecture in a realistic use case: a simple escrow contract where deposit and release happen on different channels.
The full source is available on the QuanChain GitHub. This guide explains what the code does and why — not just how to run it.
Prerequisites
You need Node.js 18+, a package manager (npm or pnpm), and either Hardhat or Foundry. The QuanChain SDK supports both. You also need test QCH — 100 tokens are available from the public faucet once per address per 24 hours, which is more than enough for this tutorial.
If you have deployed contracts on Ethereum or any EVM-compatible network before, most of this environment will feel immediately familiar. QuanChain's Channel 2 is EVM-compatible with PQC extensions. The differences from a standard Ethereum workflow are mostly additive, not substitutive.
Step 1 — Project Setup
Start with a fresh Hardhat project and install the QuanChain SDK:
npm install --save-dev hardhat @quanchain/sdk @quanchain/wallet @quanchain/hardhat-pluginIn your hardhat.config.ts, add the QuanChain testnet network alongside your other network configs:
import "@quanchain/hardhat-plugin";

const config: HardhatUserConfig = {
  solidity: "0.8.24",
  networks: {
    quanchain_testnet: {
      url: "https://rpc.testnet.quanchain.ai",
      chainId: 73571,
      accounts: process.env.PRIVATE_KEY ? [process.env.PRIVATE_KEY] : [],
    },
  },
};
The @quanchain/hardhat-plugin package extends Hardhat's ethers provider with QuanChain-specific methods for cross-channel transactions and TADEQS wallet management. It does not replace the standard Hardhat workflow — it adds to it.
Step 2 — Create a TADEQS Wallet
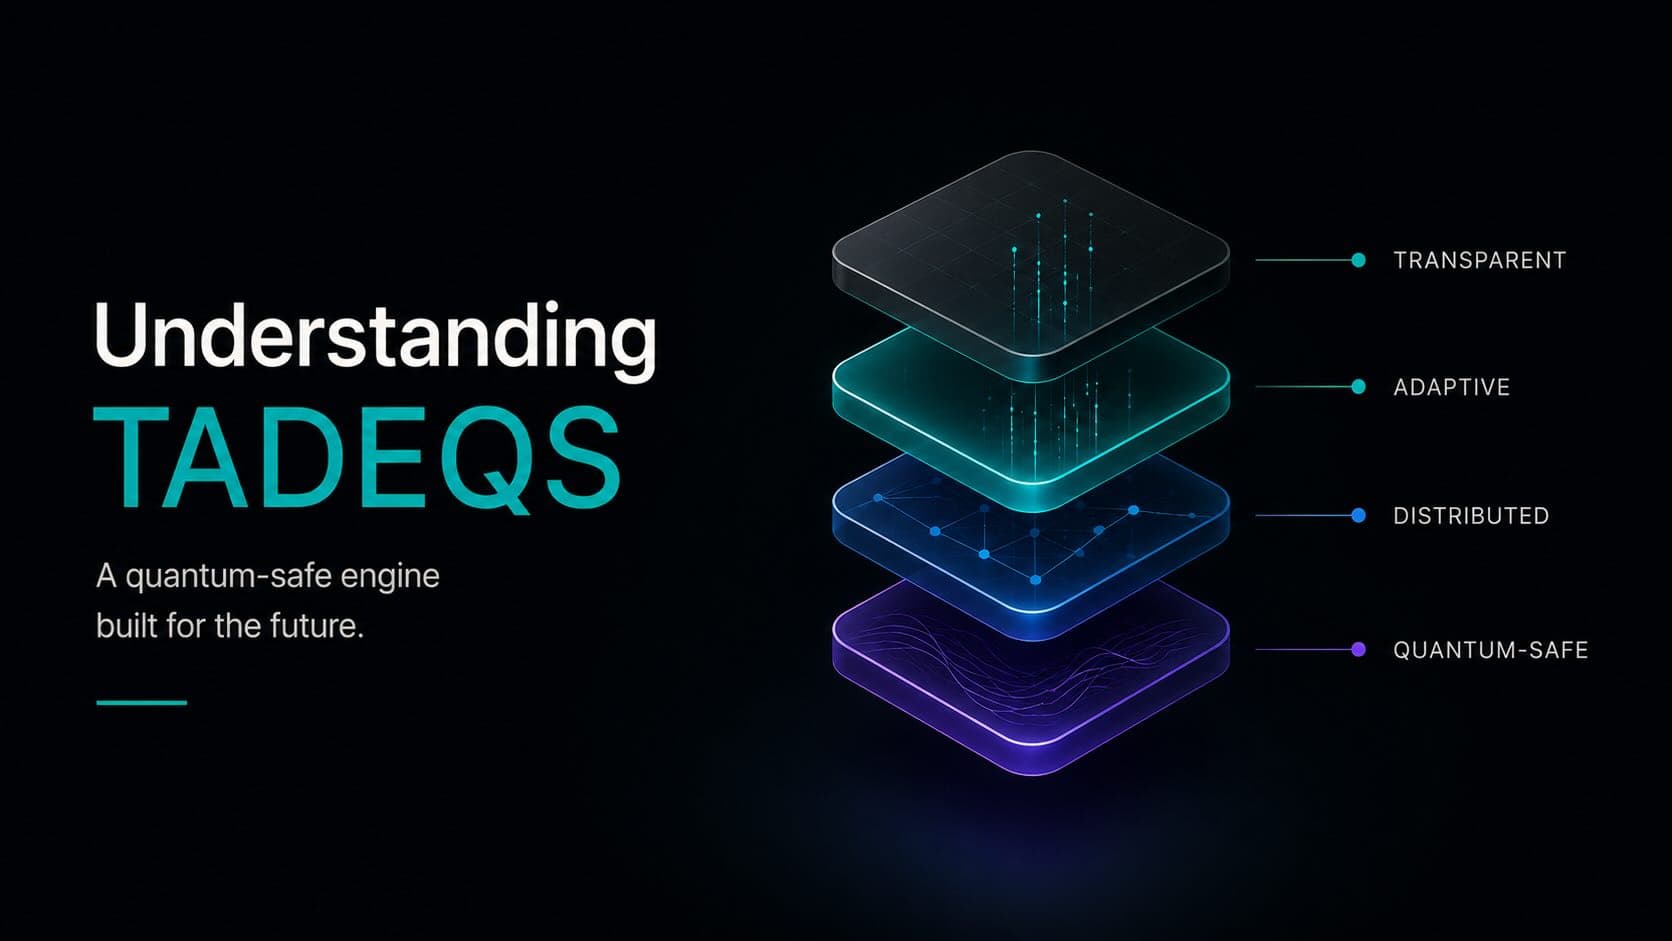
Every account on QuanChain is a TADEQS wallet. Unlike an Ethereum EOA, which has a single static public/private key pair, a TADEQS wallet has a parent identity and a rotating set of child addresses. The wallet SDK handles this entirely transparently — from a developer's perspective, you interact with addresses and sign transactions just as you would on any EVM chain.
To create a wallet for testnet development:
import { TADEQSWallet } from "@quanchain/wallet";

// Generate a new wallet at Security Level 3 (suitable for testnet development)
const wallet = await TADEQSWallet.generate({ securityLevel: 3 });
console.log("Parent address:", wallet.parentAddress);
console.log("Current receive address:", wallet.currentChildAddress);

// Save your recovery phrase — even on testnet, this is important
console.log("Recovery phrase:", wallet.recoveryPhrase);
Notice that you get two distinct addresses: a parent address (your permanent identity, used for governance and emergency recovery) and a current child address (where you receive funds, and from which you spend). When you call the faucet, use your child address. When you sign transactions, the SDK handles the SpendAndRotate key rotation automatically — you do not need to manage child key lifecycle manually.
Security Level 3 is appropriate for testnet. On mainnet, you would typically use Level 5 or higher for a personal wallet, and Level 12+ for any contract that holds significant value. The TADEQS documentation explains the full 20-level security model.
Step 3 — Write the Escrow Contract
The escrow contract lives on Channel 2. It holds deposited funds and releases them to a recipient when a release condition is met — in this case, a simple approval by the depositor. Deploy, deposit from Channel 1 into the escrow via a cross-channel transaction, and release with another cross-channel call that pays out on Channel 1.
// SPDX-License-Identifier: MIT
pragma solidity ^0.8.24;

import "@quanchain/contracts/interfaces/IChannel1Bridge.sol";

contract SimpleEscrow {
    IChannel1Bridge public immutable bridge;

    struct Escrow {
        address depositor;
        bytes32 recipientAddressHash; // TADEQS child address hash
        uint256 amount;
        bool released;
    }

    mapping(bytes32 => Escrow) public escrows;

    event EscrowCreated(bytes32 indexed escrowId, address depositor, uint256 amount);
    event EscrowReleased(bytes32 indexed escrowId, bytes32 recipientAddressHash);

    constructor(address _bridge) {
        bridge = IChannel1Bridge(_bridge);
    }

    // Called via cross-channel transaction — funds arrive from Channel 1
    function createEscrow(
        bytes32 escrowId,
        bytes32 recipientAddressHash
    ) external payable {
        require(escrows[escrowId].amount == 0, "Escrow exists");
        escrows[escrowId] = Escrow({
            depositor: msg.sender,
            recipientAddressHash: recipientAddressHash,
            amount: msg.value,
            released: false
        });
        emit EscrowCreated(escrowId, msg.sender, msg.value);
    }

    // Release triggers a Channel 1 payment to the recipient's TADEQS address
    function release(bytes32 escrowId) external {
        Escrow storage e = escrows[escrowId];
        require(msg.sender == e.depositor, "Not depositor");
        require(!e.released, "Already released");
        e.released = true;
        // Bridge call initiates a Channel 1 payment atomically
        bridge.sendToChannel1{value: e.amount}(e.recipientAddressHash);
        emit EscrowReleased(escrowId, e.recipientAddressHash);
    }
}
The key QuanChain-specific element here is the IChannel1Bridge interface. This is the mechanism for initiating a Channel 1 payment from within Channel 2 smart contract logic. Under the hood, bridge.sendToChannel1 initiates a cross-channel atomic transaction — the payment on Channel 1 only goes through if the Channel 2 contract call succeeds, and vice versa. If either side fails, both revert.
Step 4 — Deploy to Channel 2
Deployment is identical to any EVM chain. The QuanChain hardhat plugin registers the testnet Channel 2 bridge address automatically:
import { ethers } from "hardhat";

async function main() {
  const bridge = await ethers.getContract("Channel1Bridge");
  const Escrow = await ethers.getContractFactory("SimpleEscrow");
  const escrow = await Escrow.deploy(bridge.address);
  await escrow.waitForDeployment();
  console.log("Escrow deployed:", await escrow.getAddress());
}

main();
npx hardhat run scripts/deploy.ts --network quanchain_testnetThe contract address returned is a Channel 2 address. You can look it up in the testnet block explorer under the Channel 2 tab — note that Channel 1 transactions appear on a separate explorer tab, since the channels maintain separate state.
Step 5 — Deposit via Cross-Channel Transaction
The deposit originates as a Channel 1 payment (moving QCH) that simultaneously calls the createEscrow function on Channel 2. This is a cross-channel atomic transaction:
import { CrossChannelTransaction } from "@quanchain/sdk";

const escrowId = ethers.id("my-first-escrow");
const recipientAddressHash = await wallet.getCurrentChildAddressHash();

const tx = await CrossChannelTransaction.create({
  channel1: {
    from: wallet.currentChildAddress,
    amount: ethers.parseEther("10"), // 10 QCH
  },
  channel2: {
    contract: escrow.address,
    method: "createEscrow",
    args: [escrowId, recipientAddressHash],
    value: ethers.parseEther("10"),
  },
  wallet,
});

const receipt = await tx.send();
console.log("Cross-channel tx hash:", receipt.hash);
console.log("Channel 1 sub-tx:", receipt.channel1TxHash);
console.log("Channel 2 sub-tx:", receipt.channel2TxHash);
After this call completes, 10 QCH is locked in the escrow contract on Channel 2. The Channel 1 balance of your wallet decreases by 10 QCH plus gas. Both the Channel 1 sub-transaction and the Channel 2 contract call are visible in the block explorer, linked by the cross-channel transaction hash.
Note that the wallet SDK automatically handles SpendAndRotate during the Channel 1 payment. Your wallet's child address rotates atomically with the spend. The next receive address your wallet generates will be different from the one you used to fund this transaction.
Step 6 — Release the Escrow
Releasing is simpler — it is a Channel 2 call that the bridge converts into a Channel 1 outgoing payment:
const releaseTx = await escrow.connect(wallet.signer).release(escrowId);
const releaseReceipt = await releaseTx.wait();
console.log("Released. Channel 1 payment hash:", releaseReceipt.channel1PaymentHash);
The recipient's Channel 1 balance increases by 10 QCH. The cross-channel payment is finalized within 2–3 block times from when the Channel 2 release call confirms.
What to Explore Next
This escrow example demonstrates the core primitives: TADEQS wallet integration, Channel 2 contract deployment, cross-channel atomic transactions, and the Channel 1 bridge interface. From here, the natural next steps are:
- Multi-signature escrows: Replace the single depositor approval with a threshold signature scheme using the
@quanchain/multisigpackage - Channel 3 audit trails: Anchor escrow state changes to Channel 3 for immutable audit logging without affecting Channel 2 throughput
- Quantum Oracle integration: Subscribe to Oracle threat-level events and adjust contract behavior based on current security conditions — for example, requiring higher TADEQS security levels for high-value deposits when the Oracle reports elevated threat metrics
- Production security levels: Move from Security Level 3 to Level 10+ for any wallet holding real value on mainnet
The full developer documentation covers all of these patterns, and the SDK reference at quanchain.ai/docs has the full API surface. The QuanChain Discord is the fastest place to get answers when you run into questions during testnet development.